Showing posts with label collage. Show all posts

Monday, December 9, 2013

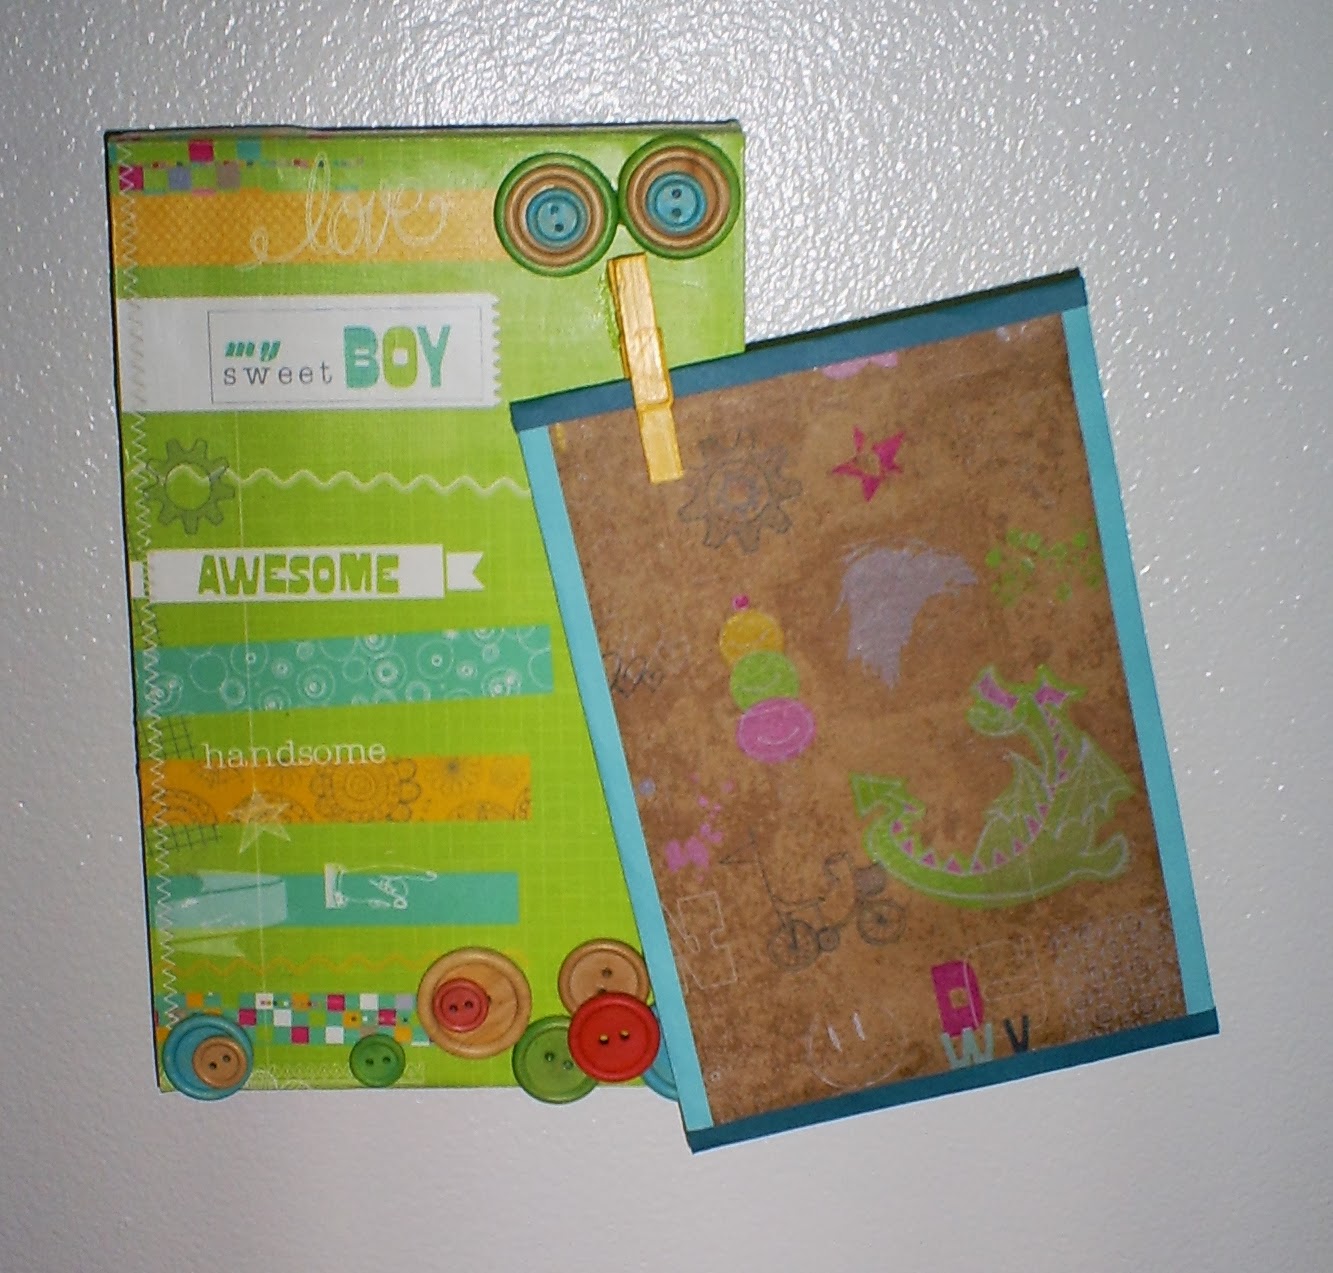
Mini-Frame Keyring Holders

These 2 are made from 4"x6" frames with some decoupage and hooks:


Artists Against Hunger 9

Well, Artists Against Hunger has come and gone again.  I was only able to be there Friday evening because of work.  It was a fair turnout despite the extremely cold temperatures.  I unfortunately did not make any sales but that just means that all the cool things I made for my "Functional Facelifts" project are available for purchase at my website.


Tuesday, December 3, 2013

Decorative Memo board

Another of my favorite facelifts, a memo board of sorts with 3 clips and 2 pegs for holding keys, notes, pics, etc:


Decorative Keyring Holder

Artists Against Hunger is quickly approaching...as in 4 days from now.  So I'm wrapping up the "Functional Facelifts" projects that are almost finished.  I already installed the ones that were done and documented Sunday afternoon.  Here's a few of the stragglers, starting with a decorative keyring holder made from a wooden plaque I got from my dad decoupaged and painted:


Sunday, November 24, 2013

Beige Earring and Necklace Holder

This, one of the first, "Functional Facelifts" is a very basic earring and necklace holder, just 8"x10" in size, perfect for a petite jewelry collection:


Neon Jewelry Organizer

This "Functional Facelift" posed a few problems along the way but came to completion today.  It's a pretty basic jewelry organizer popping with neon colors:


Accessory Organizer

This is one of my most clever "Functional Facelifts".  At least I think so anyways.  The main frame of it was actually a cast off from another project when it turned out I didn't need it for that.  I decoupaged paper on it and added hooks, pegs, a dowel, plastic canvas, and a magnet strip for the ultimate accessory organizer.


closeup of bottom left corner

closeup of upper right corner

Little Boy Photo Clip Block

The last of the four 5"x8" wood block projects, this one themed for a little boy:


Little Girl Photo Clip Block

The third of four 5"x8" wood block projects holds 1 (or 2) 4"x6" photos themed for a little girl:


Tuesday, November 19, 2013

Beachy Sunglasses Frame

This is one of the first "Functional Facelifts" I made.  An open back frame with a cool paint job and a bit of ribbon makes a sweet sunglasses holder:


Decorative Keyholder

And another:

This is another of my 5"x8" woodblock facelifts.  More decoupage, paint and ribbons...It is now a decorative key and sunglasses holder:


Fun Flowery Photo Holder

Another project for "Functional Facelifts":

I got 4 of these 5"x8" wood blocks from Y's Buys awhile back for $1.99.  This one transformed via paint, decoupage, and ribbon into a cutesie photo holder that can hold 4 images (2 at top, bottom frame is 2-sided).


Argyle Mini Mirror

I've been gradually finishing off handful of projects I've been working on for the upcoming Artists Against Hunger Exhibition.  The series is called "Functional Facelifts" in which I give thrifty found objects a new look and purpose.  I want to share them one by one as I complete and then document them.  So here goes...

I found this little framed mirror at the Goodwill for $1.50.  I primed it and then gave it a few healthy coats of yellow-orange paint.  I sassed up the front with a puffy paint pattern and the sides with some decoupaged argyle paper.  It's something like 3"x12" not including the frame.  I think it's totally adorable:


Tuesday, September 24, 2013

Adaptation

I've pretty much finished up my pink project and am finally ready to share the progression.

It started with the remains of an old college installation project:

After a layer of mod podge and gesso:

A thin color wash:

Fabric paint and poetry:

 Rose petals and rendering:

Colored pencil rendering and more fabric paint:

Oil paint layer and more fabric paint:

Rings and things:

Storm clouds arrive:

Fill in rings:

 Dress shirt and vinyl layers:

Butterfly beads, and buttons:

And finally, words:
This, the completed project will be on display and available for sale at the Paint the Night Pink Art Exhibition later in October.

Wednesday, August 21, 2013

Pinking...

So on Monday when I gathered my belongings from my parents house, I must confess that I purged some old artwork into the dumpster at my apartment.  It was a necessary purge that resulted in a springboard into my piece for the Paint the Night Pink Exhibition.

 The artwork included in the purge:
Peace Garden
Coffee Cup
Antler
Hell's Organ
The insides of Self Portrait Installation (the cupboard itself will be turned into an artwork storage closet, but it was too heavy to take out by myself the other day)
And finally, I took apart the Backend of Forever Installation saving only the cradled board it was assembled on.

That cradled board, sans the hounds tooth coat is now the surface for my Pink Project.  The coat left a really excellent pattern that I'm going to use as the background for a mixed media collage.  I put a coat of mod podge over the remnants of the fibers last night to keep them from fraying or flaking off when I paint and collage over the top.  Here's how it looks so far:
I'm not sure where it will end up but I've got some pretty good ideas...

Tuesday, August 20, 2013

Think Pink.

I've been working up a major sweat today moving some stuff from my folks house over to my apartment and unpacking.  I got a TON accomplished!
Projects included:
set up the microwave stand, utensil holder, and temporary spice storage, move up the towel bar in the bathroom, set up my desk area in the living room, unpack various art supplies and find appropriate storage for them all, hang some art, generally clean and organize pretty much everything.

And now I'm exhausted.

But I've been brainstorming ideas for the upcoming "Paint the Night Pink" Art Show.  Last year I showed new collage work related to my mom's experience with breast cancer.  I'm a little stumped so far, but I'm feeling more inspired after hanging these today.  I don't have much time, so I'd better get to it.

A Journey: Part 1
A Journey: Part 2

A Journey: Part 3